I used to think fried chicken was one of those things that only restaurant kitchens could nail.
Too messy. Too much oil. Too risky to attempt on a Tuesday night.
Then I made this recipe — and I genuinely could not believe what came out of my kitchen.
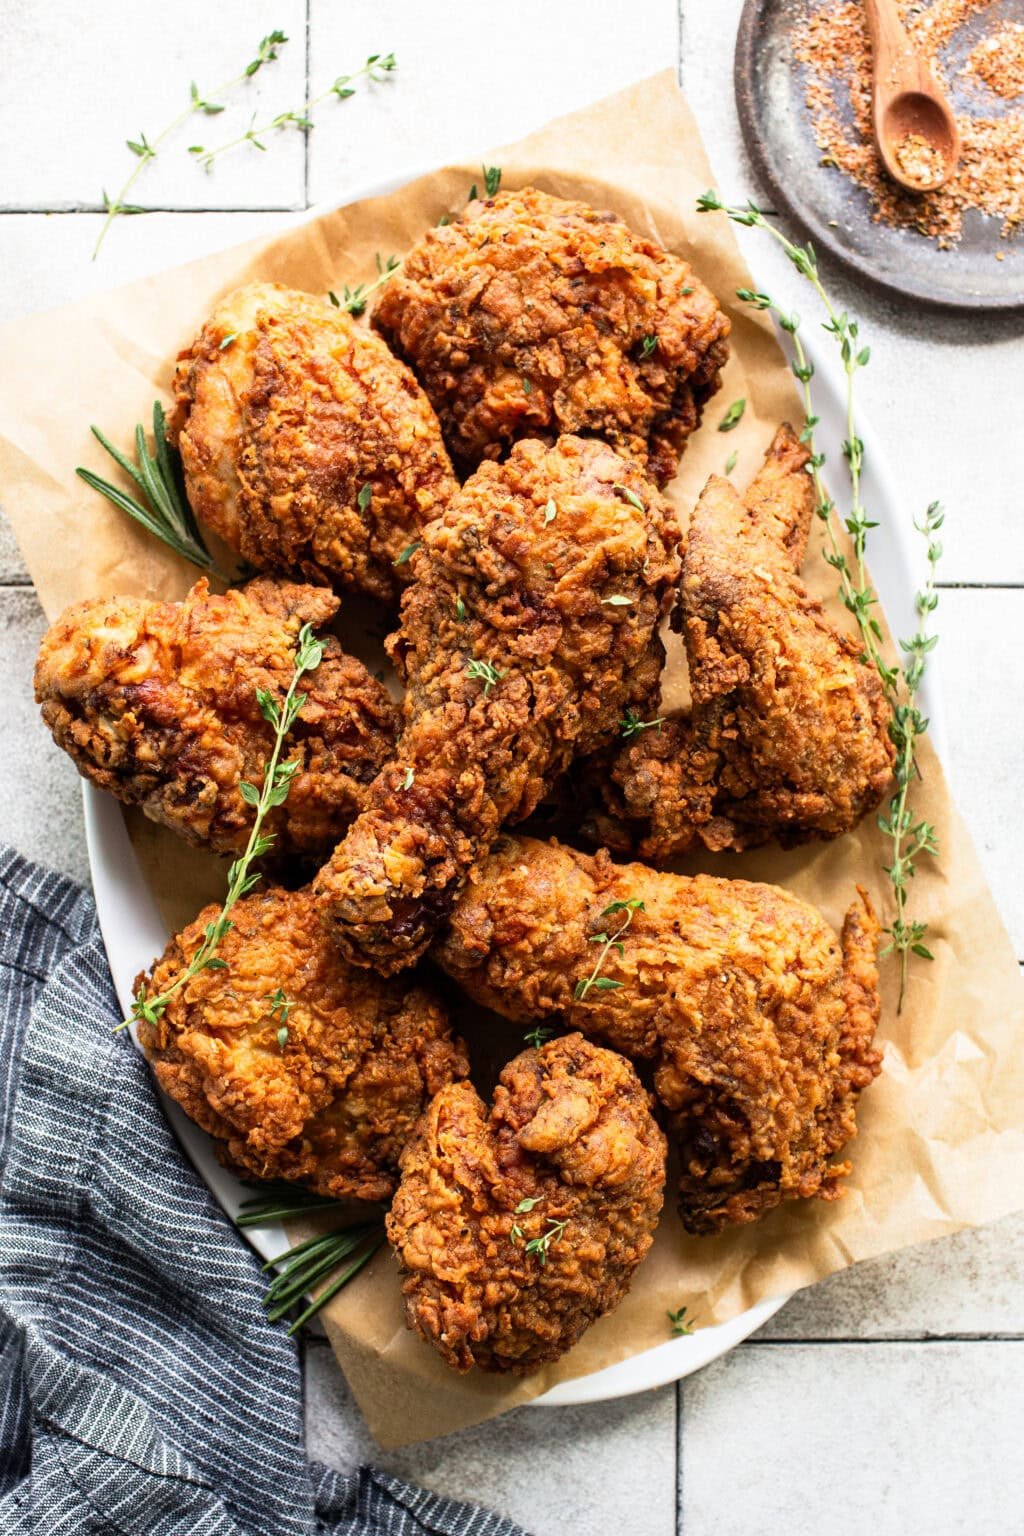
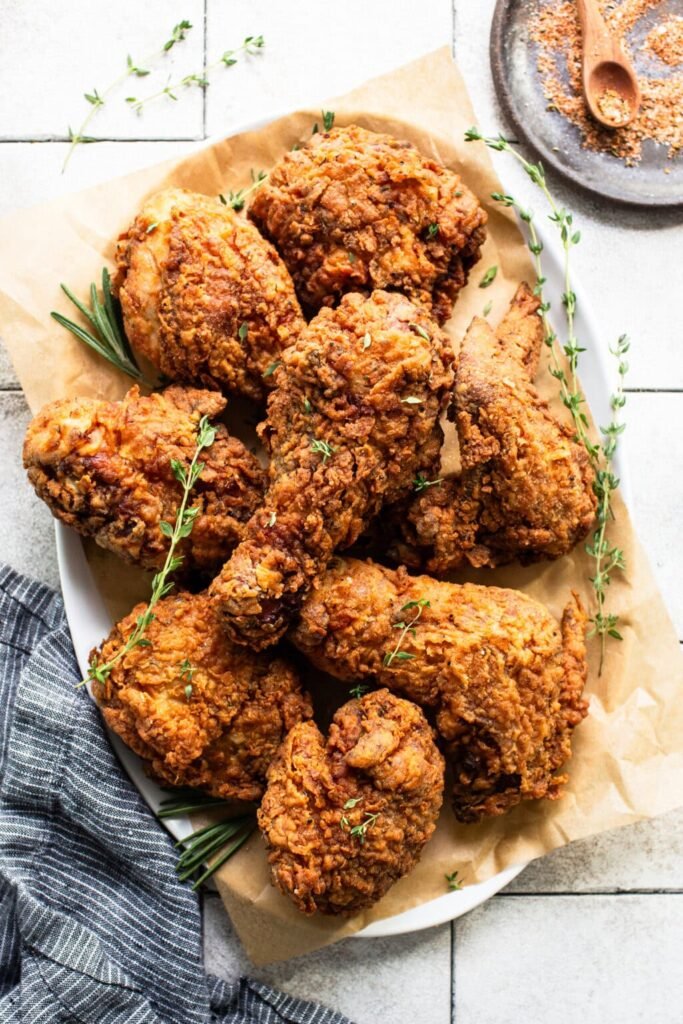
We’re talking shatteringly crispy golden crust, juicy meat all the way through, seasoned so well that you’ll just keep going back for another piece. It’s the kind of fried chicken that makes people quiet at the dinner table. Not because it’s awkward, but because everyone’s too busy eating to talk.
And here’s the thing most people don’t know: the secret isn’t some fancy technique. It’s one simple step that most home cooks skip entirely. (More on that in a bit 👇)
What You’ll Need
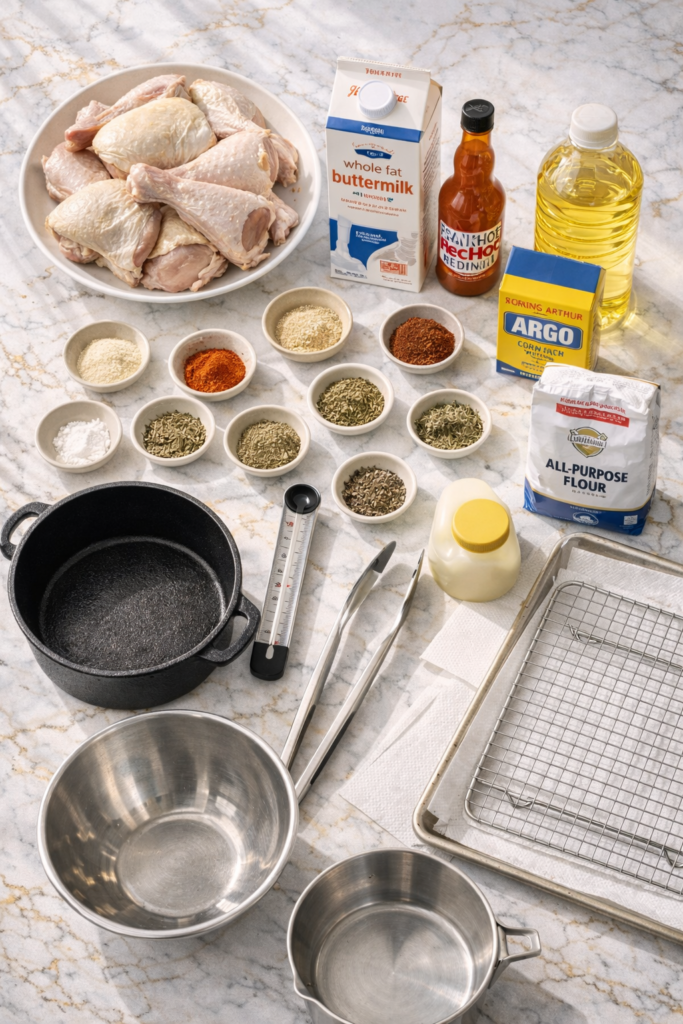
For the Chicken:
- 3–4 lbs (1.4–1.8 kg) bone-in, skin-on chicken pieces (drumsticks, thighs, and breasts)
- 2 cups (480ml) whole-fat buttermilk
- 1 tablespoon hot sauce (Frank’s RedHot works great)
- 1 teaspoon garlic powder
- 1 teaspoon onion powder
- 1 teaspoon smoked paprika
- 1 teaspoon salt (for the marinade)
For the Coating:
- 2 cups (250g) all-purpose flour
- 1/2 cup (60g) cornstarch (this is the crunch secret)
- 1 tablespoon garlic powder
- 1 tablespoon onion powder
- 2 teaspoons smoked paprika
- 1 teaspoon cayenne pepper
- 1 teaspoon dried thyme
- 1 teaspoon dried oregano
- 1 tablespoon salt
- 1 teaspoon black pepper
For Frying:
- 4–6 cups (1–1.4L) neutral oil — vegetable, canola, or peanut oil
Tools You’ll Need
- Large mixing bowl (for buttermilk marinade)
- Second large mixing bowl or shallow dish (for the flour coating)
- Large heavy-bottomed pot or cast-iron Dutch oven
- Deep-fry or candy thermometer
- Wire cooling rack set over a baking sheet
- Tongs
- Paper towels
Pro Tips
These are the things that separate a good fried chicken from an unforgettable one.
- Don’t skip the buttermilk soak — and let it go overnight if you can. A minimum of 4 hours is fine, but 12–24 hours makes the meat noticeably more tender and juicy. The acidity in buttermilk breaks down the proteins, so the texture becomes almost impossibly tender.
- Cornstarch in your flour = serious crunch. This isn’t something most recipes tell you, but cornstarch absorbs moisture at high heat and creates a crust that audibly cracks when you bite into it. Use a 4:1 ratio of flour to cornstarch.
- Fry at 325°F (163°C), not higher. Hotter oil makes the coating brown fast while the inside stays raw. Lower and slower lets the heat travel all the way to the bone before the crust gets too dark.
- Rest your chicken on a wire rack, not paper towels. Paper towels trap steam and soften the crust from the bottom. A rack lets air circulate all the way around so the crust stays crispy everywhere.
- Dredge the chicken, then let it sit for 10 minutes before frying. This gives the coating time to hydrate and stick — it won’t slide off in the oil.
How to Make It
Step 1: Marinate the Chicken
In a large bowl, whisk together the buttermilk, hot sauce, garlic powder, onion powder, smoked paprika, and salt.
Add your chicken pieces and make sure every piece is coated.
Cover and refrigerate for at least 4 hours, or overnight for best results.
Step 2: Make the Coating
In a shallow dish or bowl, combine the flour, cornstarch, garlic powder, onion powder, smoked paprika, cayenne, dried thyme, dried oregano, salt, and black pepper.
Mix it all together until evenly combined.
Step 3: Dredge the Chicken
Remove each piece of chicken from the buttermilk (let the excess drip off, but don’t shake it clean — you want some of that wet batter sticking around).
Dredge it in the flour mixture, pressing firmly so the coating sticks all over. Get into every corner.
Set the coated pieces on a wire rack for 10 minutes before frying.
Step 4: Heat the Oil
Pour 4–6 cups of oil into your heavy pot. You want about 3 inches of oil depth.
Heat to 325°F (163°C). Use a thermometer — guessing doesn’t work here.
Step 5: Fry in Batches
Don’t crowd the pot. Fry 2–3 pieces at a time depending on the size.
- Thighs and drumsticks: 12–14 minutes, turning halfway through
- Breasts: 14–16 minutes
- Wings: 8–10 minutes
The internal temp should hit 165°F (74°C) before you pull them.
Step 6: Drain and Rest
Transfer to your wire rack over a baking sheet.
Sprinkle with a little extra salt immediately while still hot.
Let them rest 5 minutes before serving. That’s enough time for the juices to settle and the crust to fully crisp up.
Substitutions and Variations
| Ingredient | Swap |
|---|---|
| Buttermilk | 2 cups whole milk + 2 tbsp white vinegar or lemon juice, let sit 5 minutes |
| All-purpose flour | Gluten-free 1:1 flour blend works well |
| Vegetable oil | Peanut oil (adds a subtle nutty flavor), canola, or shortening |
| Cayenne | Chili powder for a milder heat |
| Bone-in chicken | Boneless thighs work great, just reduce fry time to 8–10 minutes |
Spicy version: Double the cayenne and add 1 teaspoon of chili flakes to the dredge.
Extra-crunchy version: Add 1/2 cup crushed cornflakes to the flour mixture.
Make Ahead Tips
You can marinate the chicken up to 24 hours in advance and keep it in the fridge — this actually improves the end result.
The flour coating can also be mixed and stored in a sealed container for up to a week. Just give it a stir before using.
Once fried, chicken doesn’t reheat perfectly (more on that below), so it’s best to fry right before serving if you can.
Nutritional Info (Per Serving, approx.)
Based on one drumstick or thigh piece, serving size 4 oz of cooked chicken.
| Nutrient | Amount |
|---|---|
| Calories | ~380 kcal |
| Protein | 28g |
| Total Fat | 21g |
| Saturated Fat | 4g |
| Carbohydrates | 18g |
| Sodium | 640mg |
Values vary by piece size and how much oil is absorbed.
Meal Pairing Suggestions
Fried chicken is the kind of meal that makes everything around it taste better too. Some favorites:
- Classic coleslaw (the creamy crunch is a perfect contrast)
- Buttery cornbread or biscuits
- Mashed potatoes or gravy
- Pickles and hot honey drizzled on top
- A cold glass of sweet tea or lemonade
Leftovers and Storage
Storing: Let the chicken cool completely, then refrigerate in an airtight container for up to 3 days.
Reheating (and keeping it crispy): The oven is your best friend here. Place on a wire rack over a baking sheet at 375°F (190°C) for 10–15 minutes. It won’t be quite as crispy as fresh, but it gets very close.
Avoid the microwave — it’ll make the coating rubbery and soft, and you’ll be sad.
Freezing: Cooked fried chicken freezes well for up to 2 months. Freeze on a baking sheet first until solid, then transfer to a zip-lock bag. Reheat from frozen at 375°F for about 20–25 minutes.
FAQ
Can I use skinless chicken? You can, but the skin is a big part of what makes fried chicken so good. It protects the meat, helps the coating stick, and adds so much flavor. Skinless works in a pinch, but it won’t be quite the same.
Why is my crust falling off? Two common reasons: too much excess buttermilk before dredging, or the oil wasn’t hot enough. Make sure the temperature stays at 325°F throughout frying, and press the coating on firmly.
Can I do this in an air fryer? You can! Spray the coated chicken with oil, cook at 375°F for 20–25 minutes, flipping halfway. The crust won’t be as crunchy as deep-fried, but it’s still really good.
How do I know the oil is ready without a thermometer? Drop a pinch of flour into the oil. If it sizzles and floats, you’re close. For accuracy, a thermometer is worth the $10 — guessing at oil temp is the #1 reason fried chicken fails at home.
Can I reuse the frying oil? Yes. Let it cool completely, strain through a fine-mesh sieve or cheesecloth to remove any bits, and store in a sealed container. It’ll keep for 2–3 uses before it starts to smell stale.
What’s the best chicken piece to start with? Thighs. They’re the most forgiving — hard to overcook, tons of flavor, and they stay juicy even if you go a couple minutes over. Great for first-timers.
Wrapping Up
If you’ve been waiting for an excuse to try making fried chicken at home, this is it.
It’s not as intimidating as it looks. You just need the right technique, a good thermometer, and about 30 minutes of active cooking time.
The result? The kind of fried chicken that makes people ask if you went to culinary school. (You didn’t. You just had a good recipe.)
Give it a try this week — and when you do, I’d love to hear how it went. Drop a comment below with how yours turned out, any tweaks you made, or questions you ran into along the way. I read every single one. 🍗